


How to Light a Loft Conversion: Layering Daylight, Downlights and Lamps
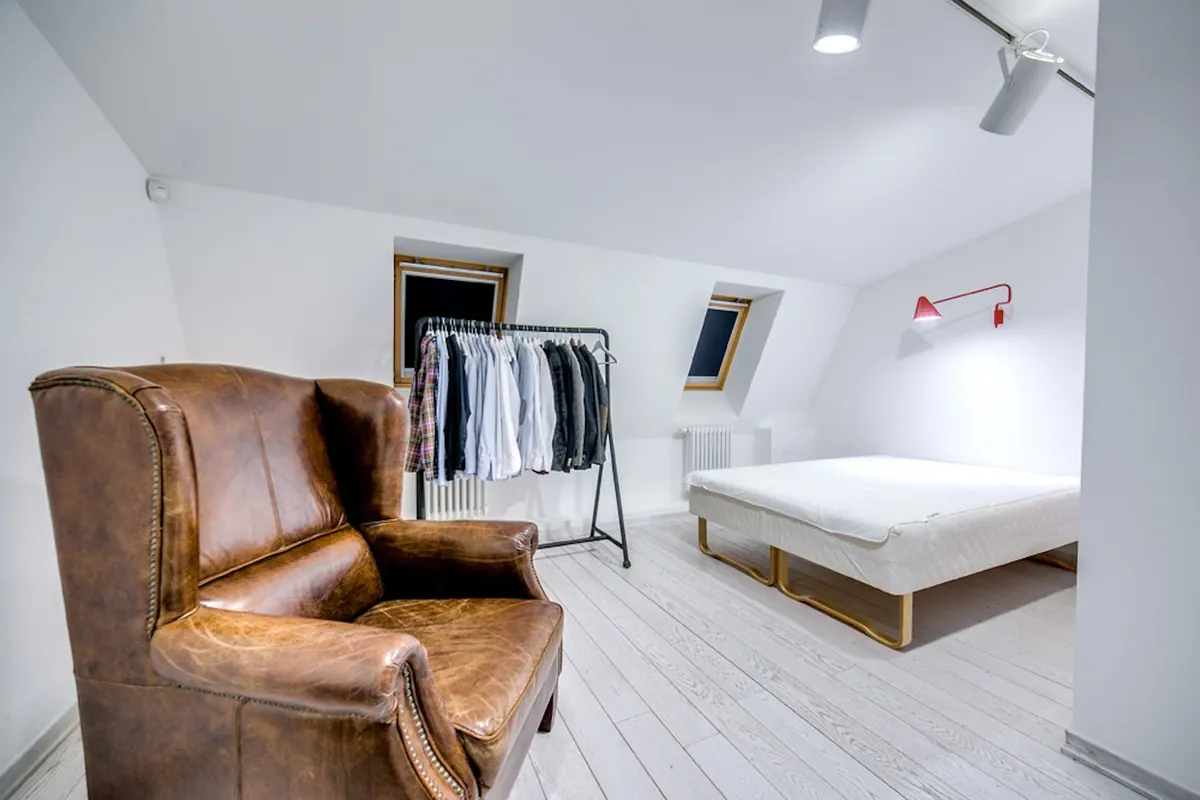
Loft conversions rarely lack light in theory. In practice, most are lit by a couple of roof windows and one hopeful ceiling light, leaving the corners under the eaves in permanent gloom while the slopes look flat and grey. The answer isn't more fittings. It's layering: daylight where it can actually reach, downlights placed around how the room is used, and lamps at the height where you sit, read and get dressed. Get those three layers right and a loft stops feeling like an attic.
Start with the daylight you already have
Spend a full day in the room before you buy anything. Note where the sun lands at breakfast, midday and late afternoon. A south-facing roof window floods the space for part of the day and then leaves it hot and glaring. A north-facing one gives flat, even light all day, which suits a desk or a studio but needs warmer artificial light to feel welcoming in winter. East-facing glass means bright mornings, lovely in a study and miserable in a bedroom without blinds.
Watch the angle of the slope, too. A window set low in the roof throws light across the floor, while one high in the slope bounces it off the ceiling and down into the room. That difference matters more than the size of the glass.
Roof windows: position, size and shading
Placement beats size. A single large window centred on the room sounds generous but often lights one strip of floor brilliantly and leaves everything else dim. Two smaller windows set apart spread the light far better and give you ventilation options in summer.
Most people are happiest with the handle at roughly waist to chest height when standing, which puts the glass in the upper half of the slope where it catches the most sky. If you work at a desk or read in a chair, check the sightline from that spot before the windows are ordered. A window whose bottom edge sits below eye level will show you tiles rather than sky.
Blinds are part of the plan
Blackout blinds are close to essential in a bedroom, and heat-reflective or external awning blinds make a real difference in a south-facing room that overheats in July. If the window overlooks a neighbour, check whether obscure glazing or a planning condition applies before you buy.
Downlights on a sloped ceiling
This is where loft lighting usually goes wrong. Fitting downlights into the slope creates pools of light on the floor and leaves the ceiling above them dark. Keep general downlights on any flat section of ceiling and use the slope for washing or accent light instead. Where you do use them:
- Choose fire-rated fittings with intumescent hoods where the ceiling forms a fire separation, which is common in a loft conversion.
- Check the insulation contact rating before burying a fitting in a warm roof build-up.
- In bathrooms and en suites, respect the IP zones and keep fittings away from where you stand in the shower.
- Use dimmable warm white lamps around 2700–3000K with good colour rendering, so skin tones and wood look right.
- A rough starting point is one downlight per 1.5 to 2 square metres, but light the tasks first and the floor second.
Light the task, then the floor. If you can see the bare lamp from where you sit, it's in the wrong place.
And avoid a row of downlights directly above the bed. Lying underneath them, all you'll see is glare.
Build the room in layers
Three layers, each ideally on its own switch or dimmer, do the work that one central fitting never can:
- Ambient: general fill so you can move around safely and find things in a cupboard.
- Task: bright, directed light for reading, working, dressing and mirrors.
- Accent: low-output light that grazes a wall, washes the slope or picks out a shelf.
Keep the slopes and the underside of the eaves in light colours. Dark surfaces swallow exactly the light you've just paid for, and a feature wall in a loft usually costs you more than it gives back.
Task and lamp lighting in the awkward corners
The low corner
A floor lamp about 1.4 to 1.6 metres tall puts the shade above seated eye level, so the light falls on your book rather than in your face. Choose a shade that throws light up and down, and put it where the ceiling is lowest to lift that whole end of the room.
Bedsides
Wall lights mounted on the upright wall about 1.2 metres from the floor work better than fittings fixed to the slope, which tend to shine straight at your pillow. Alternatively, use reading lights on adjustable arms and keep them switchable from the bed.
Desks and studies
Light from the side, opposite your writing hand, so your own shadow doesn't fall across the page. A slim linear fitting under a shelf is tidier than a bulky desk lamp if space is tight, and a single downlight above your head is the worst option of all.
Stairs and wardrobes
Light the treads and both landings so the top step is never a guess. Inside wardrobes, strip lighting under the shelves transforms a dark recess into somewhere you can actually match socks.
Switching, dimming and doing it safely
Decide switch positions before the plasterboard goes up. Two-way switching at the top and bottom of the stairs is standard, and separating the window zone, the bed zone and the desk zone saves you crossing a dark room in December. If you want table lamps to come on at the wall switch, ask for a five-amp lighting circuit or switched sockets at lamp height rather than trailing extension leads across the floor.
Dimming LEDs is fussier than dimming halogens. Use a trailing-edge dimmer rated for the load, check the minimum requirement, and buy lamps and dimmer from the same supplier where you can. Cheaper combinations buzz or flicker at low levels.
Electrical work in a loft conversion isn't a DIY job. Notifiable work should be carried out by a registered electrician, and the conversion as a whole needs building control sign-off, covering fire separation, escape routes and interconnected smoke alarms. Ask those questions early, before anything is boarded out.
A simple lighting plan to work from
- List what each part of the room is for, honestly, including the corner where you dump laundry.
- Note the daylight at three times of day and mark the darkest spots.
- Draw the three layers on a plan, then place furniture over it and delete anything that ends up behind a wardrobe.
- Mark switch and socket positions, including lamp sockets at skirting or waist height.
- Choose lamps and beam angles before you choose fittings.
- Get the electrician in before plasterboard, and keep the wiring diagram.
Do that and the finished room will work on a grey Tuesday in January at four in the afternoon, which is the only test that really counts.
Photo: Алан Албегов / Pexels